 Life is . . . ? See the samples at A Place in Time!!

Friday, January 20, 2012

LO Share
Another layout completed at my retreat. I love the banner style that is currently out.
 Enjoy!
Karen

Karen
Thursday, January 19, 2012
Celebrate Today
 "Handpainted Petites" has to be my all time favorite stamp set. This SU stamp set has been retired for several years, yet I still love it each time I use it. The card and tea holder is created for Sandy Bobo of Texas for January's Tea Swap. CTMH Floral Tapestry Paper, Diecuts from MemoryBox, Sizzix and Nestabilities.
Here is the inside of the tea holder:

I'm also sending a duplicate to Josie in Canada, "just because" :o)
Thank you for stopping by!
Thank you for stopping by!
Wednesday, January 18, 2012

Tuesday, January 17, 2012
LO Share
I finally scrapped. It seems like a really long time. Just got back from a retreat and wanted to post some layouts up. Enjoy!
 An online scrap group I'm in has an annual retreat. This was the retreat a few years back in St. Louis. We typically show up a few days early for the "scrap retreat" to tour and shop whatever city the retreat is in.
Karen

Karen
Love - Sneak peak
 Here's another card we'll be creating at my next class. I used the Memorybox dies that are brand new at A Place in Time and selling off the shelves!!
Saturday, January 14, 2012
How to make "Another Purse"
 I received several requests for the purse I did here so I created a quick tutorial.
You will need 2 pieces of paper: Paper for the bottom of the purse measuring 8.5" x 10"; and paper for the top of the purse measuring 7 1/4" x 6 1/4". Let's create the bottom of the purse first. With the 10" side at the top, score 1 1/2" and 8 1/2".

With the 8.5" side at the top, score at 3 1/2" and 5".

Cut the vertical lines up until you reach the horizontal lines. Fold and adhere into a box:


You have just completed the bottom of the purse.
Now let's work on the cover. Cut a strip of 8.5 x 1" paper for the handle. Score 1 inch at both ends.
The cover of your purse is 7 1/4" x 6 1/4". With the 6 1/4 at the top, score at 2" and 3 1/2". I rounded my corners and embossed it.

Adhere the two ends of the strip to the middle of the creases so that it is shaped like a handle.


Putting the purse together: Adhere the short side of the top of your purse onto one side of the bottom part of your purse.
 All done! Now all you have to do is add your personal touches:
 I placed a circle diecut at the front of my purse to accent:
 The purse is kept closed with velcro.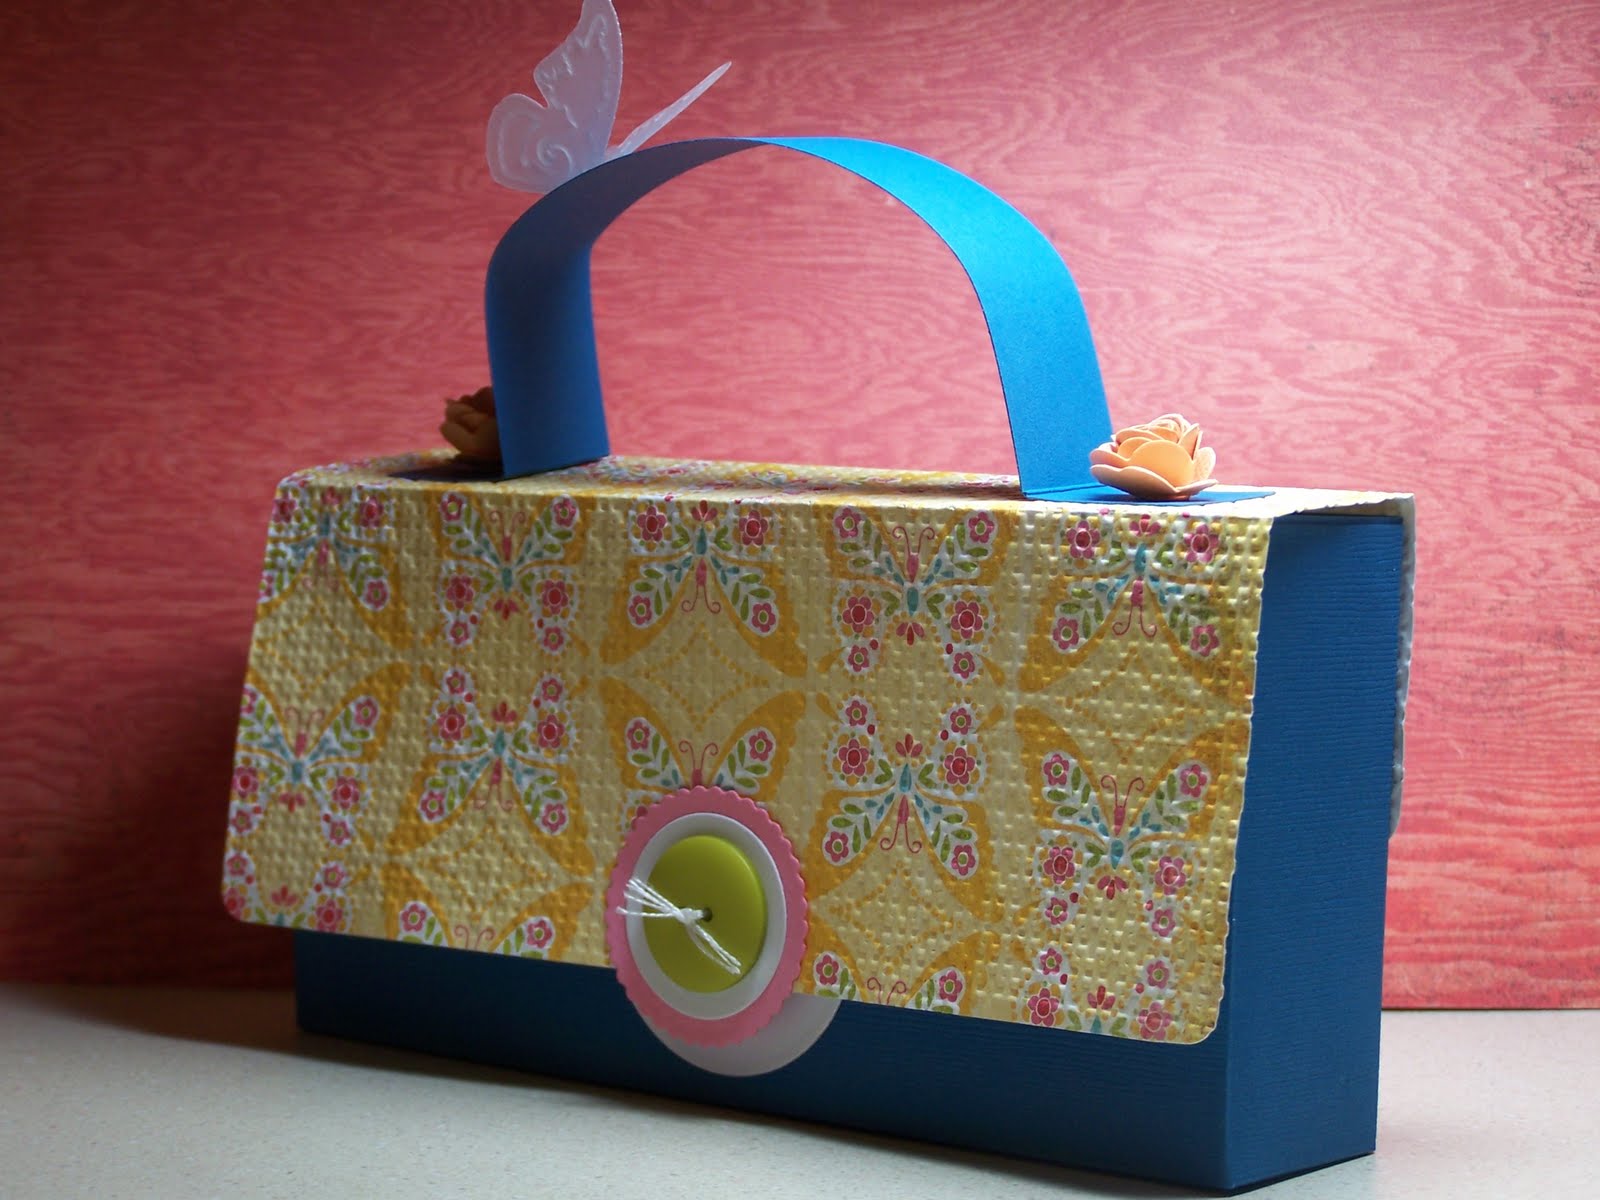
 Thank you for stopping by! My computer is back up, thanks to DH!!!!!
Subscribe to:
Posts (Atom)